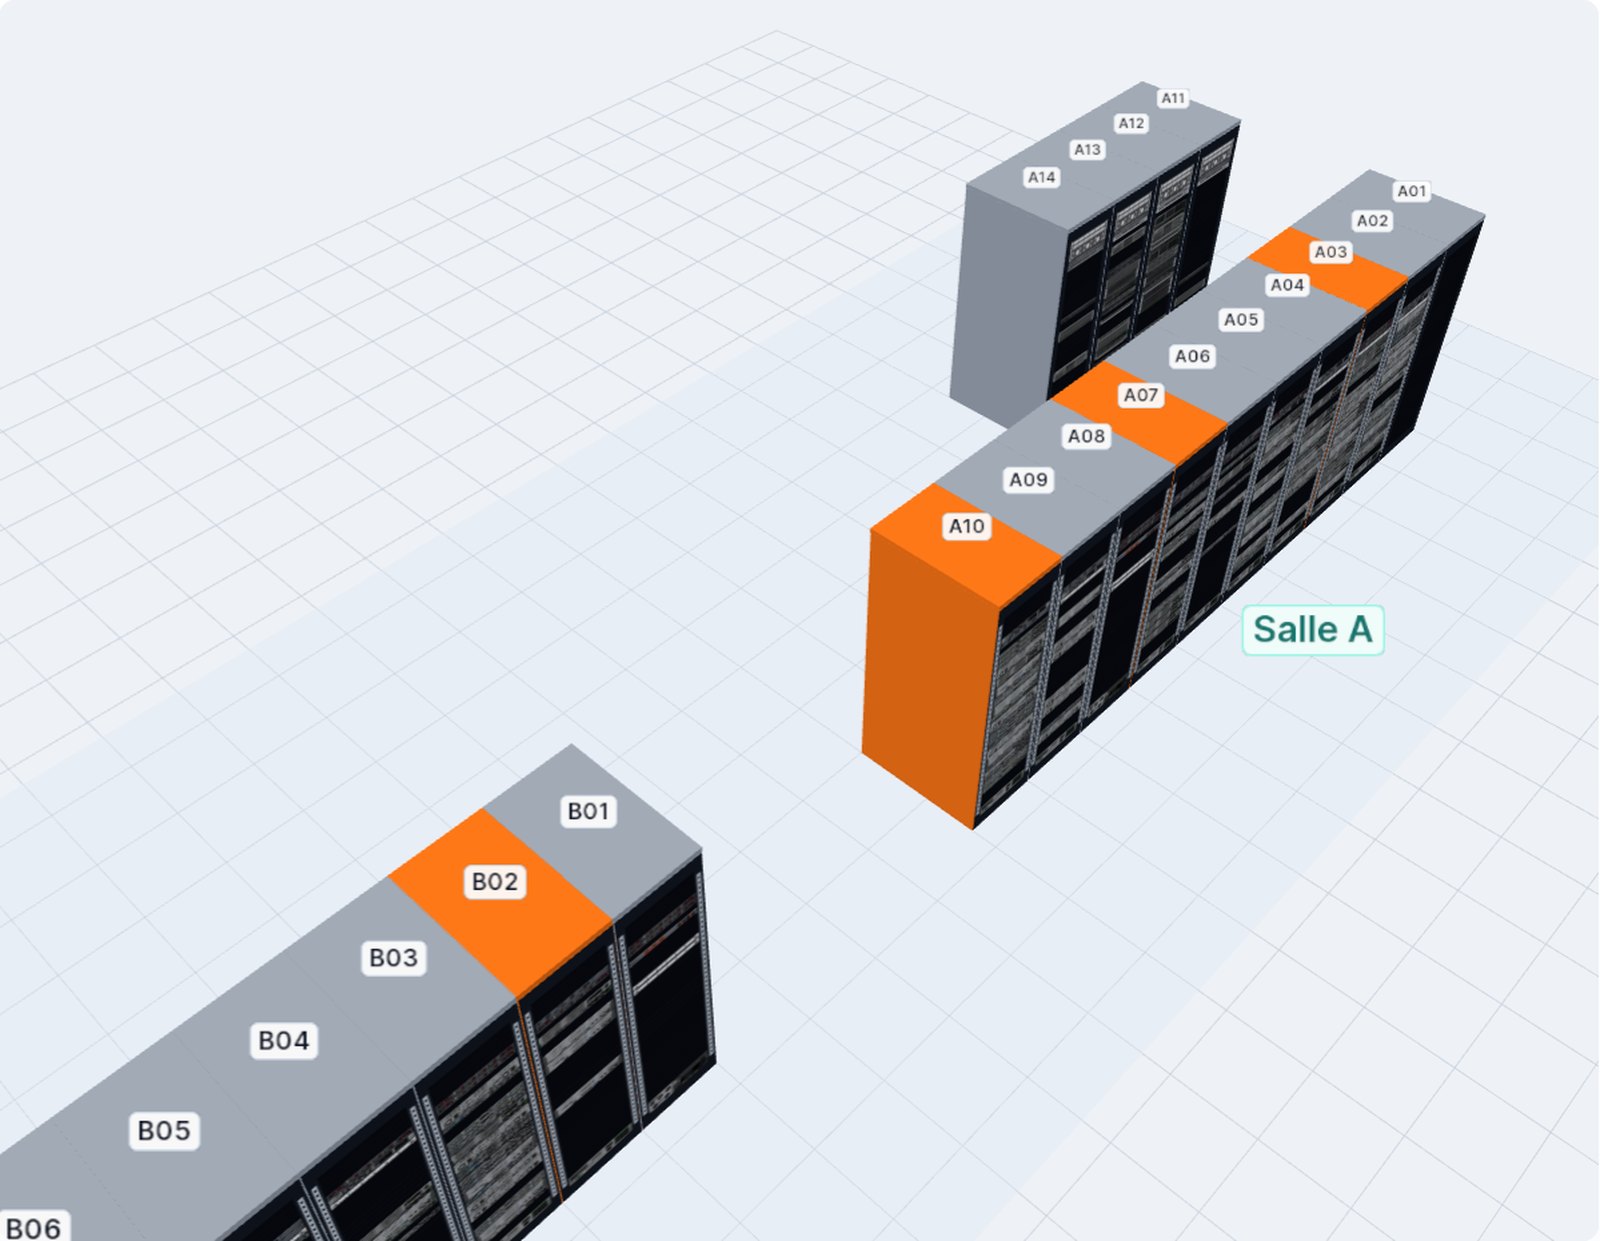
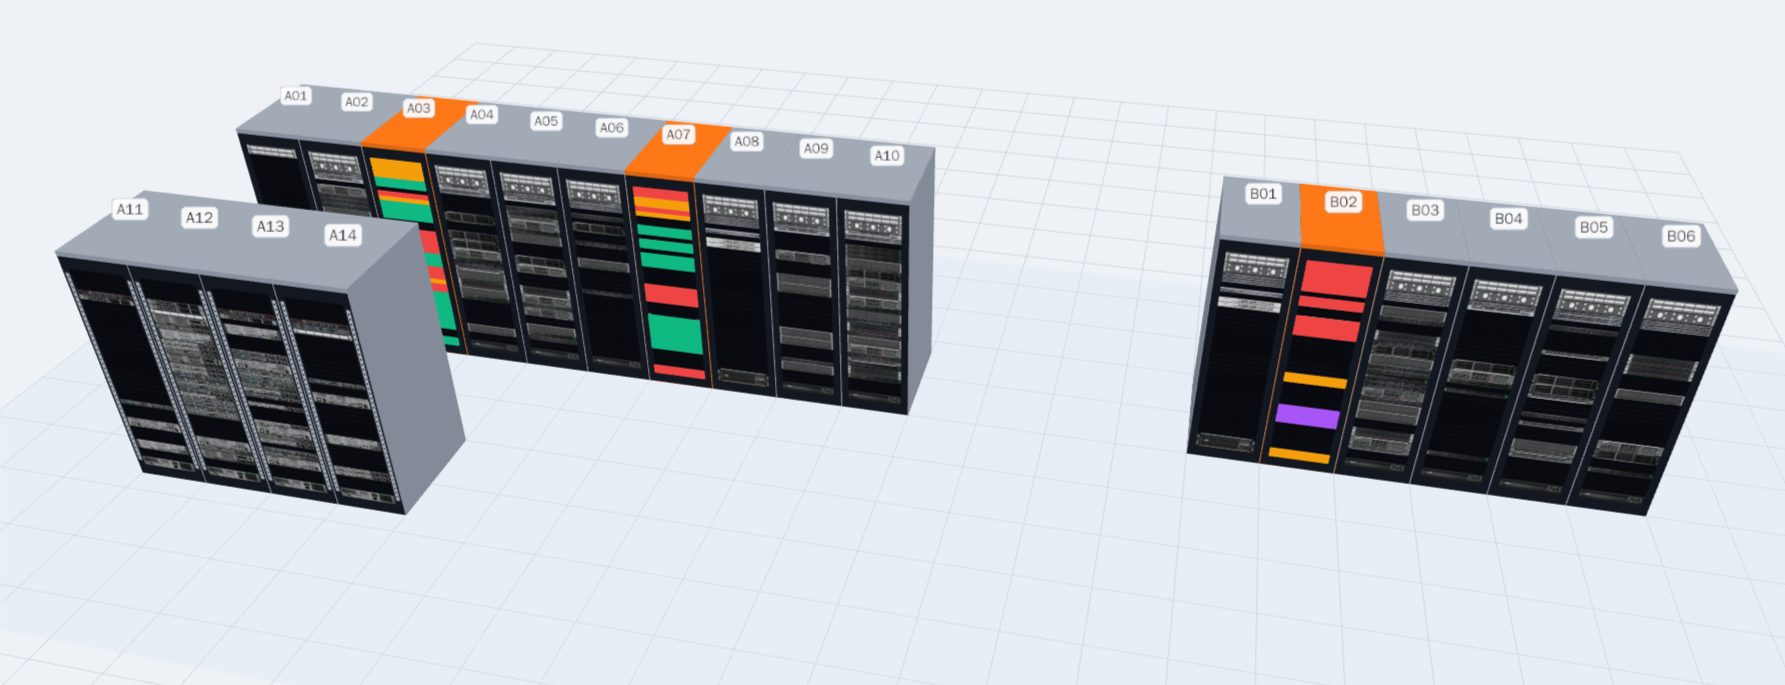
Field
Preparing a multi-site survey campaign
Several sites, dozens of racks, a small field team: how to define the campaign, split the visits and track coverage site by site, from the office to the room.
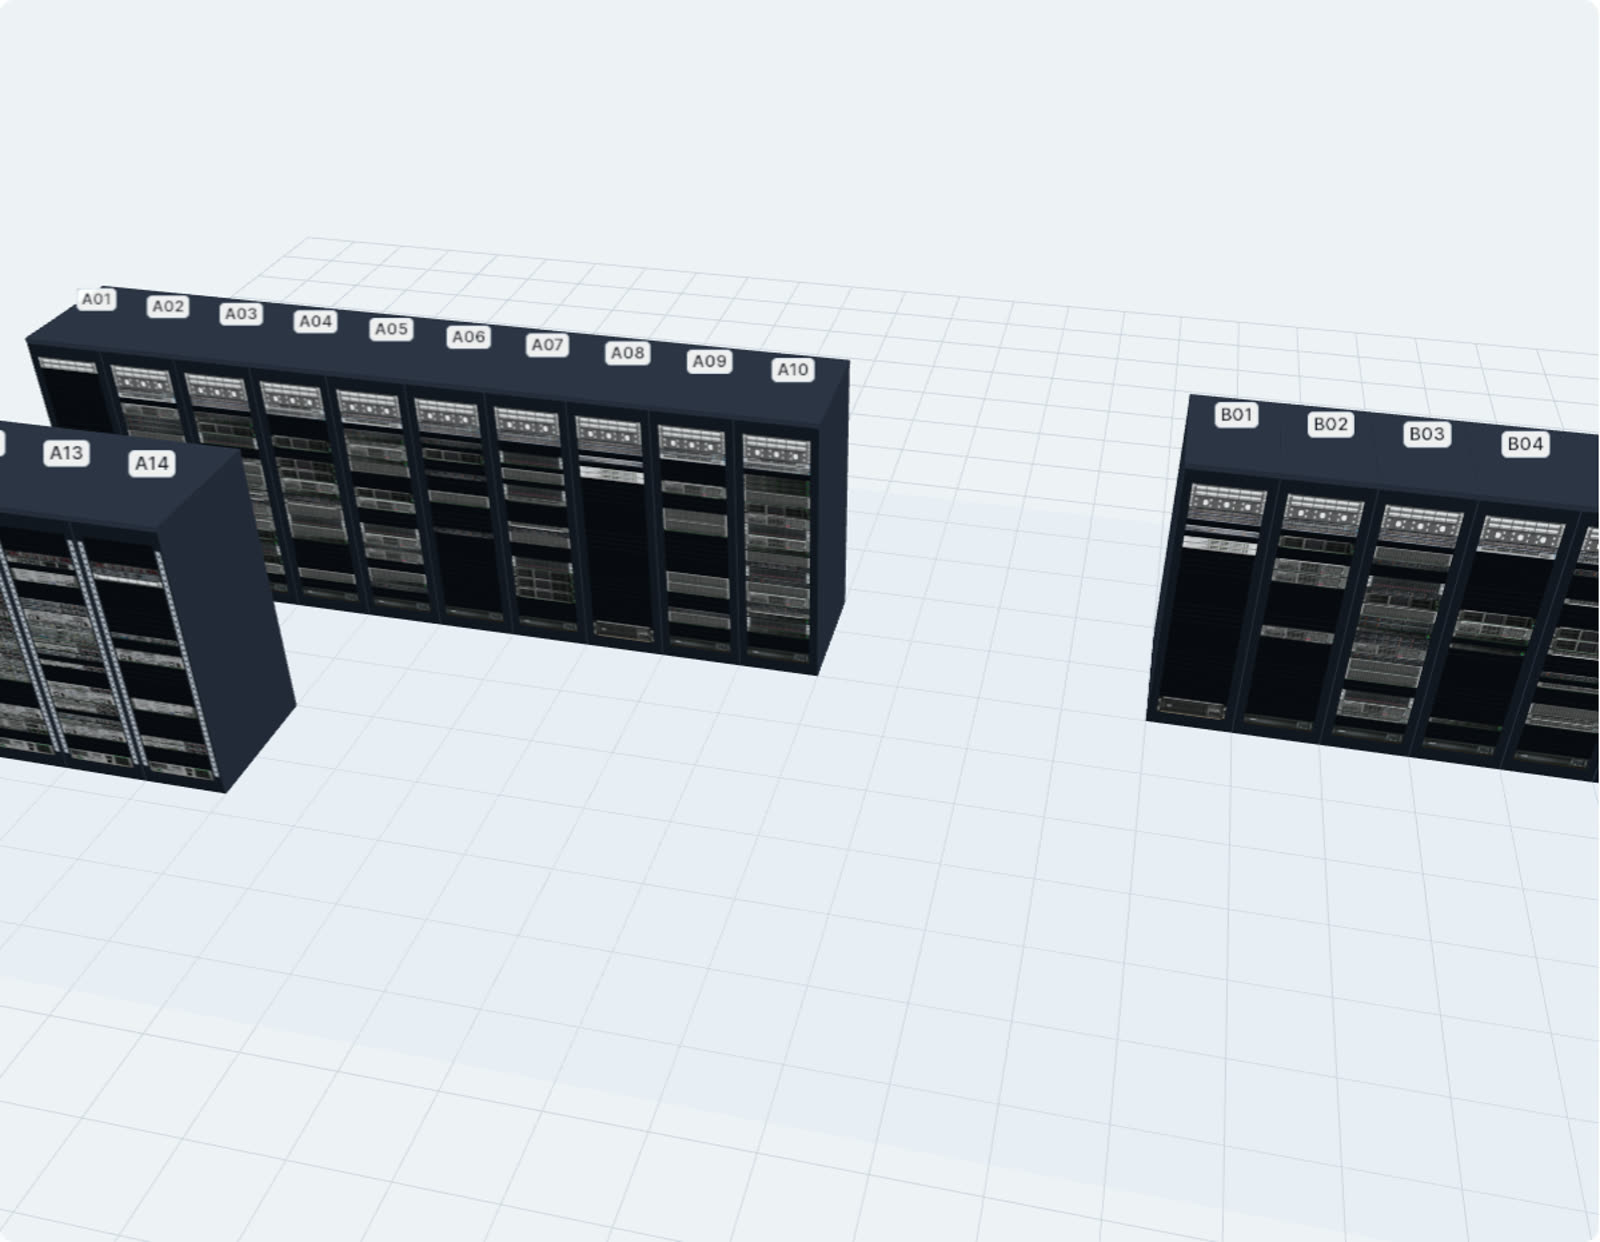
Contents
Surveying a rack takes a few minutes. Surveying an estate spread over several sites takes organization: knowing what to survey, in what order, by whom, and how to check that the campaign is progressing. Without a method, you end up with photos scattered across phones, racks seen twice and others never.
This article proposes a five-step method, based on the platform screens: the “All sites” view, the audit page, the room plan and field mode.
Start from the all-sites view
The “All sites” page shows each site of the inventory as a card: its rooms, its racks drawn in miniature, the number of devices and U, and the survey status. A bar under each card shows how many racks have no discrepancy, have discrepancies or have never been surveyed, and how long ago the last survey was.
It is the right starting point to define a campaign. On one screen, you see where the never-surveyed racks are concentrated and which sites have pending discrepancies. On the demo bench, the page counts 54 racks spread over several sites, including 4 with discrepancies and 49 never surveyed.
Define the scope
A successful campaign starts with a written scope. Three questions are enough.
- Which sites? All of them, or those that matter most for operations, a move or a contract up for renewal.
- Which racks? All racks of the selected sites, or only those that are not up to date according to the audit page.
- What validity? The period beyond which a survey is considered old: 3, 6 or 12 months.
This scoping also sets what “done” means. A campaign is done when the target coverage is reached on each site in scope, and when the discrepancies found have been handled or planned.
The five-step method
Order the racks
On the audit page, set the validity, then read the visit plan: racks are ranked by priority (never surveyed, modified since the survey, old survey, pending discrepancies), then by site and by name.
Split by site and by day
Click a site in the “By site” column to filter the plan. The number of racks to survey gives a first idea of the time needed on site.
Export and assign
Export the campaign plan as CSV and assign the racks to technicians, site by site, in your usual work order tool.
Survey with field mode
On site, the technician opens the room plan on their phone, taps the rack, then “Survey”: the photo goes to the server and comes back compared with the inventory.
Handle and track
Back at the office, discrepancies are handled line by line. The audit page and the sites view show progress, site by site.
On site: the room plan in your pocket
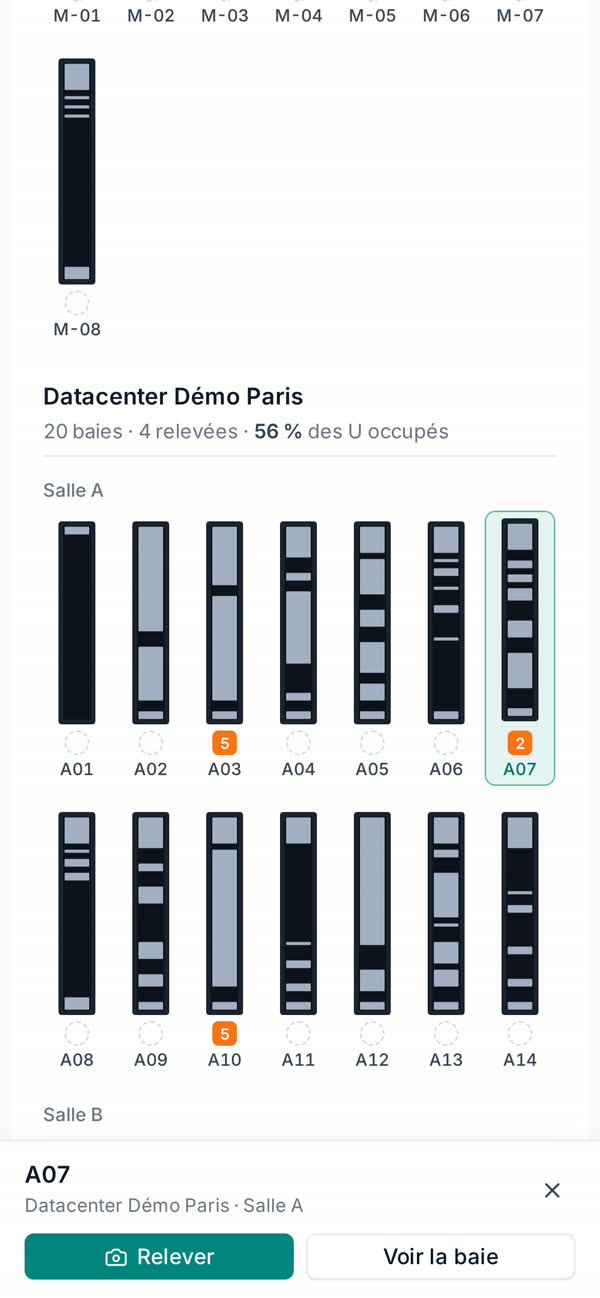
Field mode brings the room plan to the phone. Each rack is drawn with its fill level according to the inventory, and a badge flags racks that have discrepancies. Tapping a rack opens a sheet with two actions: survey the rack, or see its details.
This plan avoids the most frequent question in the field: “which rack am I looking at?”. It also avoids a classic trap: photographing one rack and attaching it to another. When the photo arrives, the platform recognizes the rack among the candidates. On the demo bench, the photo of rack A07 gets a score of 8.5, against 2 for the next one, B03.
A good photo, the first time
A few simple rules save a second visit:
- the whole rack in the frame, top to bottom, rails visible;
- from the front, at the height of the middle of the rack, door open if possible;
- no backlighting or strong reflections on the fronts;
- a photo of the rear face if it holds equipment.
What is not on the photographed face is not invented: equipment declared at the rear appears as “out of view”, not as missing.
Track coverage site by site
During the campaign, two screens are enough to steer. The audit page gives overall coverage, the average match rate of surveyed racks and what remains to be surveyed; its “By site” column details coverage and match rate for each site. The “All sites” view shows, card by card, how many racks have moved from “never surveyed” to “no discrepancy” or “with discrepancies”.
For progress reviews, the site report exports to PowerPoint and the inventory to CSV. You present progress without reworking the data by hand.
After the campaign
The discrepancies found during the campaign follow the usual workflow: U-by-U comparison, line-by-line decision with the photo alongside, human approval before anything is written to the inventory, and two-level approval if your organization uses it. Every action is recorded in the log: who surveyed, who proposed, who approved, and when.
The next campaign starts from a known situation. Surveyed racks age at their own pace, those modified in the inventory move back up the list, and the visit plan rebuilds itself effortlessly. Surveying becomes a routine rather than an exceptional project.
For the details of the priority rules, read Prioritizing the audit: which racks to survey first. To scope a campaign on your own estate, let’s talk.