Field
Surveying a rack in five minutes with a photo
One front photo, taken with a phone, is enough to get the list of devices in a rack, their U position and their family. Here is how to go about it, step by step.
Contents
Surveying a rack by hand means a notebook, a flashlight and many trips back and forth between the front of the rack and the sheet. You note a device, count the U, count again because a cable manager made you skip a line. Photo surveying reverses the logic: you take a picture of the whole rack, the platform proposes an inventory, and you keep your attention for what really needs a human eye.
This article describes the method as it works today, from taking the photo to approval. The five minutes in the title are not a quantified promise: they are the order of magnitude of a simple action, a photo then a review, compared with a full manual survey. The actual time depends on the rack, its lighting and the number of points to check.
What you get at the end
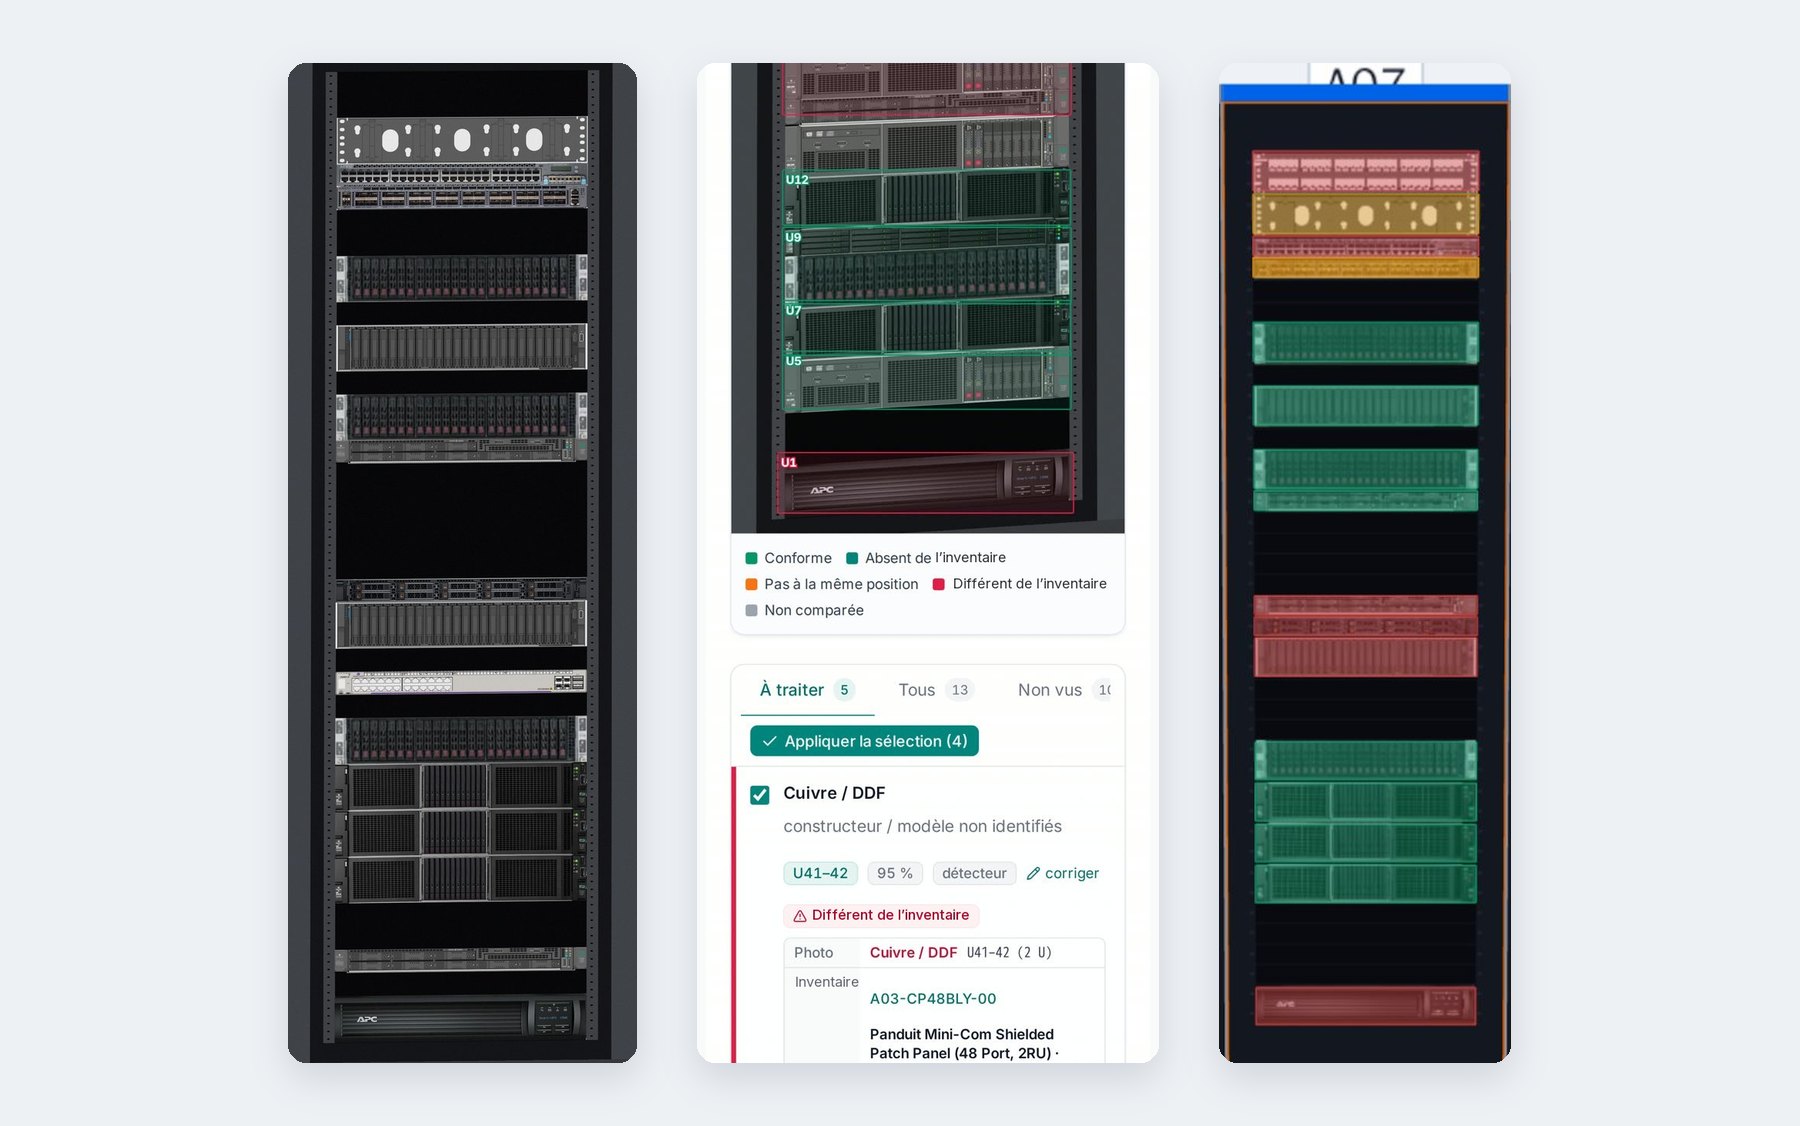
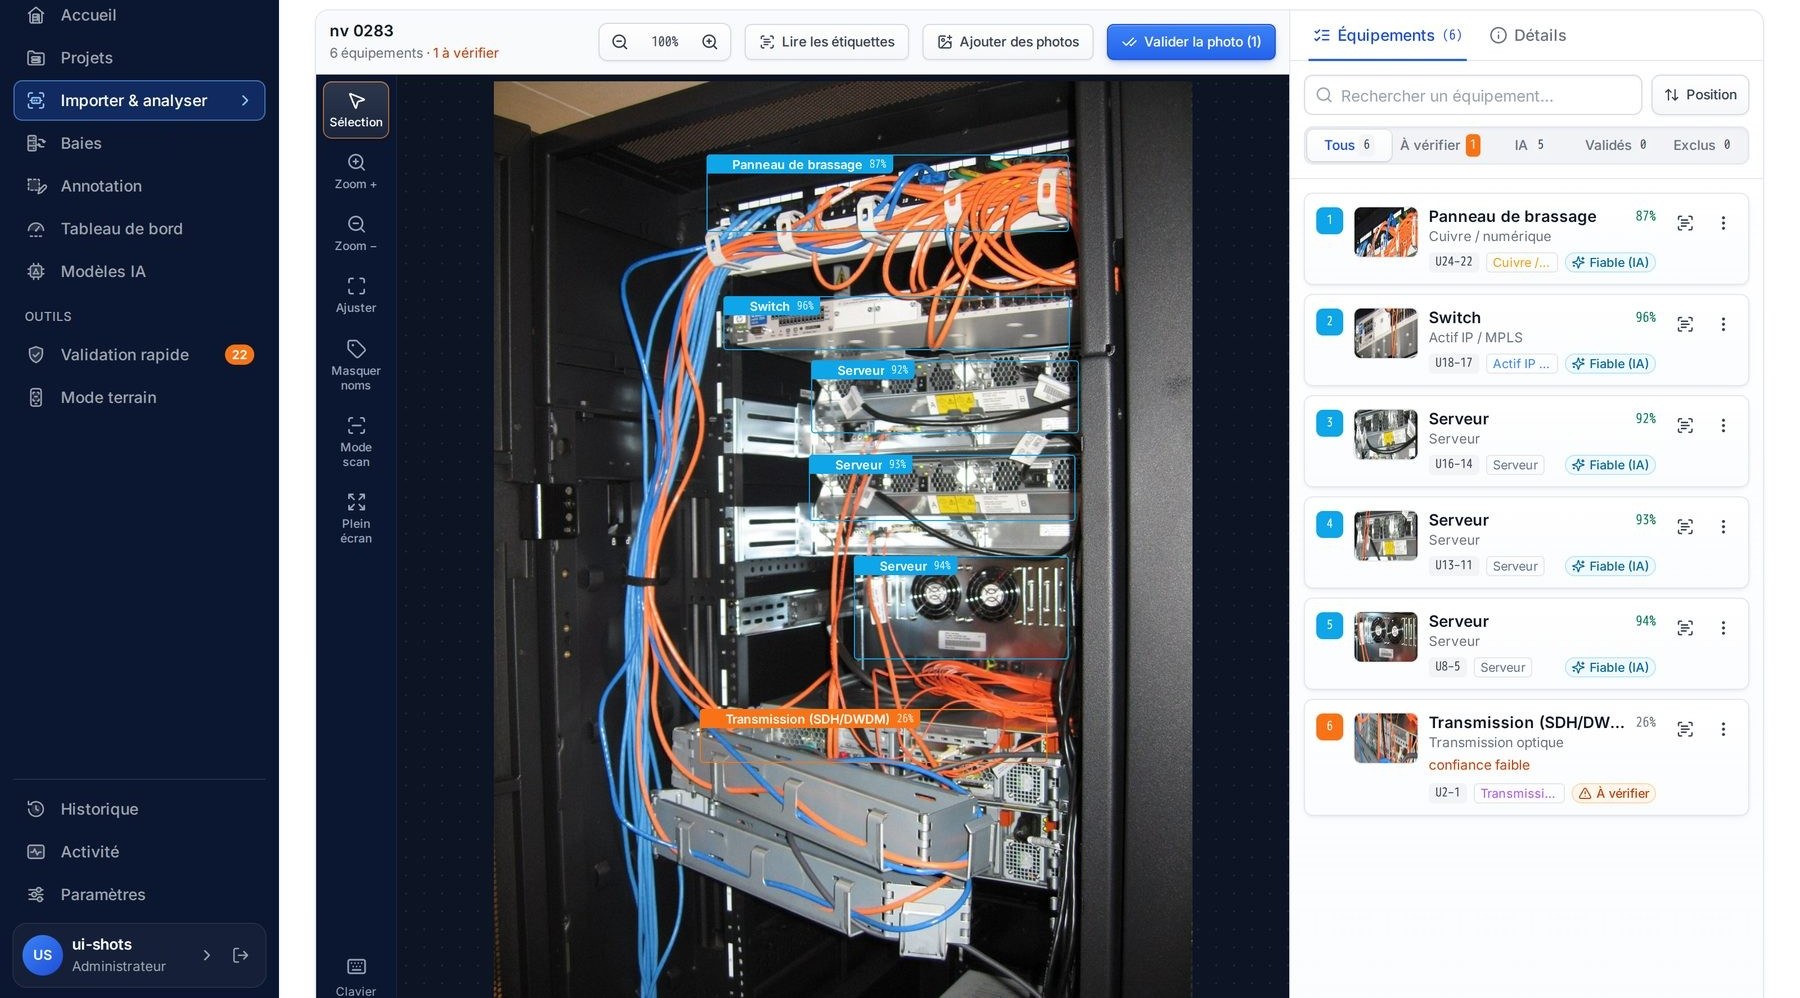
For each device spotted in the photo, the platform returns four pieces of information:
- a box on the photo, showing exactly what was seen;
- a family: network, fiber and transmission, power, server, patching and other;
- a U position, calculated from the rack rails;
- a confidence level, shown as a percentage next to each line.
Each box on the photo corresponds to a line in the list. Clicking one selects the other: you always know what you are looking at.
Before taking the photo
The quality of the survey is largely decided when the photo is taken. A few simple rules are enough.
The whole rack, from the front
The engine relies on the rack rails to place each device in U. It therefore needs to see the rack from top to bottom, from the front, without cutting off the top or the bottom. Step back rather than closer: a slightly wide photo is better than a cropped one.
One door open, one face at a time
Open the front door if it is solid or glazed with reflections. A photo shows one face: what is at the rear will appear as “out of view” in the comparison with the inventory, not as a discrepancy. If the rear matters to you, take a second photo.
Light, no blur
In rooms, aisles are often dark. Turn on the aisle lighting or use the phone’s flashlight. Hold the device straight and wait for focus before shooting.
The survey steps
Choose the rack or the project
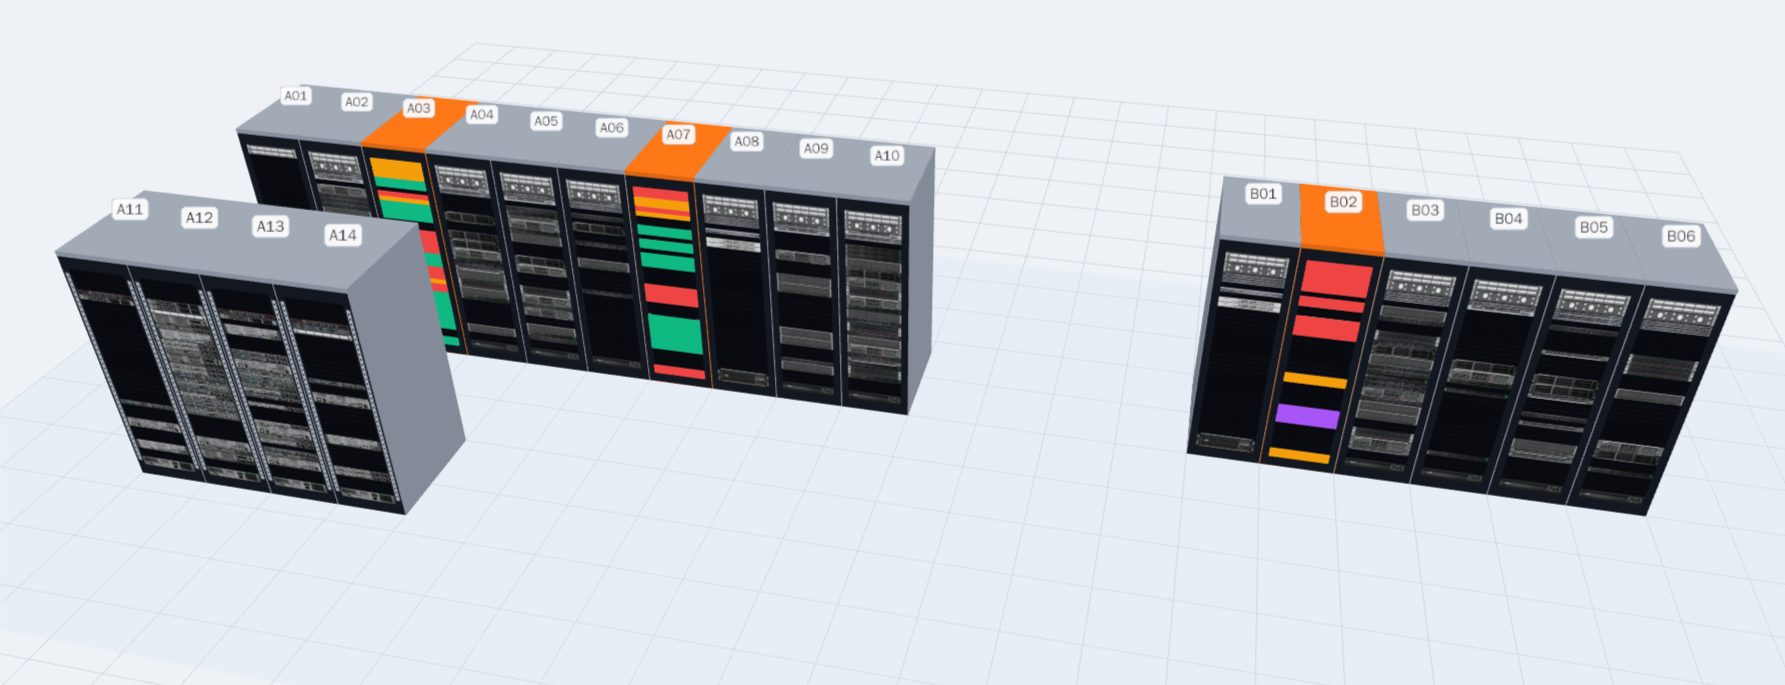
With a connected inventory, start from the rack in the room plan and press “Survey this rack”. Without an inventory, create a project or open an existing one, then import the photo.
Take or import the photo
From a phone, field mode opens the camera directly. At the office, you can import one or more photos from a folder.
Let the analysis run
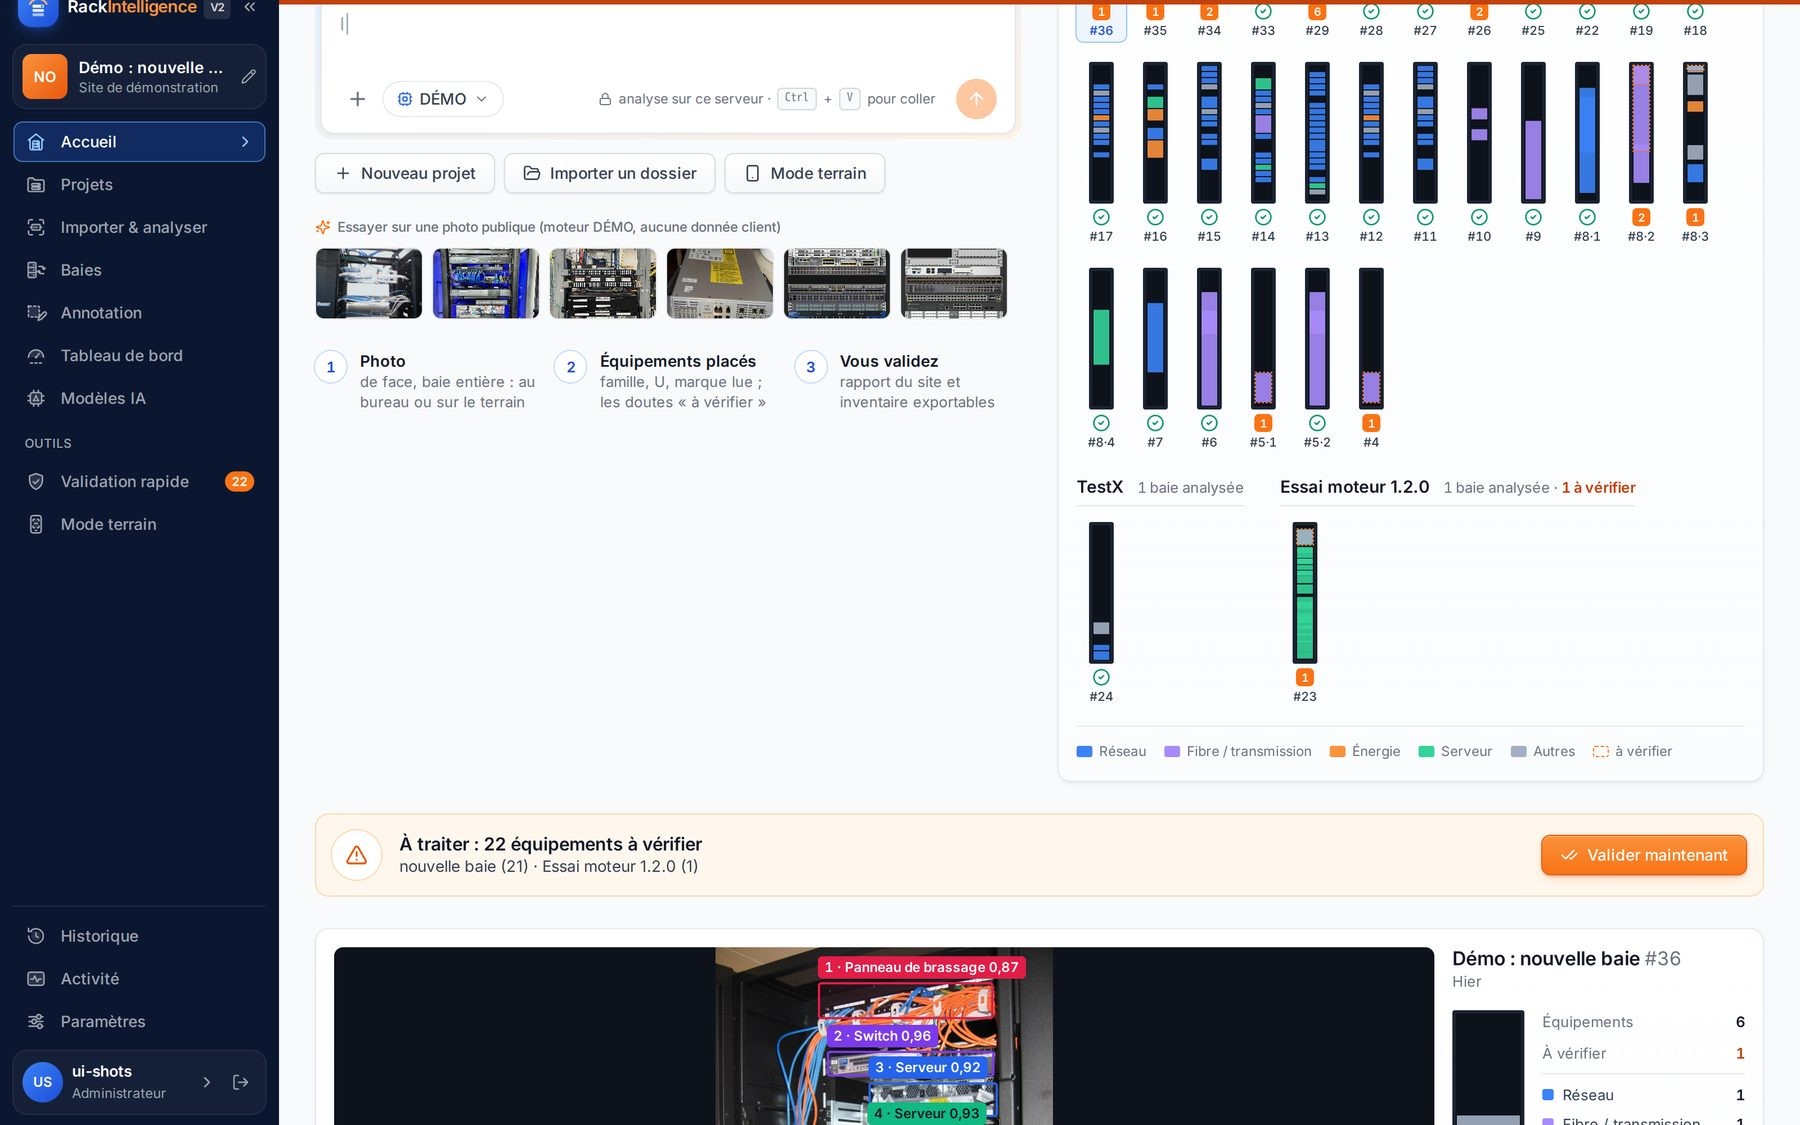
The analysis runs on your server: the photo is not sent to any online service. Devices appear in boxes, with their family and position.
Review the “to check” lines
Start with the “To check” filter. For each line, compare the box with the photo, correct the family or position if needed, or exclude the detection.
Approve the photo
Once the doubts are cleared, approve. The survey is saved with the photo, and becomes the basis for the comparison with the inventory or for the site report.
Reading confidence correctly
The percentage shown next to each device indicates how sure the engine is of its detection. It is neither a quality rating of the hardware nor a guarantee: it is a signal to guide your review.
When confidence is low, the platform neither hides the detection nor presents it as certain. It marks it “to check”, with a readable reason, for example “low confidence”. This is a deliberate choice: a visible line of doubt is better than a silent error in the inventory.
The filters at the top of the list separate devices by status: all, to check, proposed by the analysis, approved, excluded. An efficient review consists of handling the lines to check first, then quickly going through the others while looking at the photo.
Correcting without starting over
A correction does not require redoing the survey. You can:
- change the family of a misclassified device;
- adjust its U position if the box is offset;
- exclude a detection that matches nothing useful, such as a reflection or an object left on a shelf;
- add an additional photo if an area was poorly visible.
The “Read labels” button also lets you attempt to read the labels visible on the front. Its result depends heavily on the photo: treat it as an input aid, to be reviewed like the rest.
What next?
An approved survey can be used in three ways:
- With a connected inventory, it is compared U by U with the rack’s inventory. Discrepancies are shown one by one, with the photo alongside. Nothing is written to the inventory without your approval. The article Reference inventory vs field: reading a discrepancy U by U details this reading.
- Without an inventory, it feeds the project inventory and the site report, exportable as CSV and PowerPoint.
- In a campaign, it moves the rack from “never surveyed” to “up to date” on the audit page.
Want to see what the method gives on your own racks? Request a demo: a few photos are enough to judge.